TOOLNAVIA / BUYING GUIDE
Filmora Auto Normalization: LUFS vs Peak Before You Pay
The short answer
# Filmora Auto Normalization: LUFS vs Peak Before You Pay
**Short answer:** Filmora is a credible paid choice when you want video editing and basic loudness balancing in one timeline, but Auto Normalization is not a one-click delivery guarantee. The current Windows guide describes platform presets and a custom loudness control, typically from -23 to -10 LUFS, while Audio Gain offers a separate maximum-peak normalization path. Those controls answer different questions. Before buying, test both on your own mixed recordings, export the file, measure the result outside Filmora and listen on at least two devices.
*Affiliate disclosure: Toolnavia may earn a commission if you buy through the approved Filmora link. This does not change your checkout price or the acceptance gates below.*
This is a documentation-based buying analysis checked on November 6, 2026. We did not operate a paid Filmora account or claim a measured export result.
At a glance
- Best for
- Creators combining loudness balancing and video editing with export verification.
- Price model
- Basic $49.99/year · Advanced $59.99/year · Perpetual $79.99
- Check first
- No preset guarantees compliance; current build, checkout and export measurement control.
Decide which problem you are solving
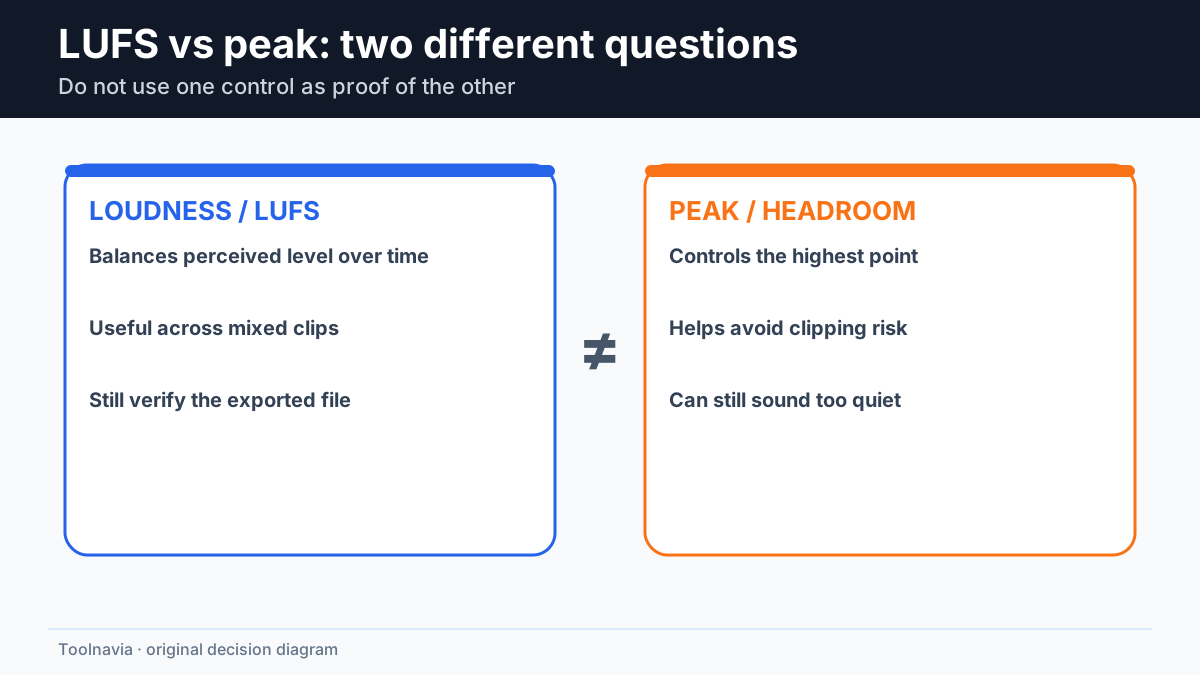
A project can sound inconsistent for several reasons. One clip may be quiet overall, another may contain a single loud transient, and a third may have wide dynamics that make speech hard to follow. Peak normalization moves a clip according to its highest sample or true peak. Loudness normalization estimates perceived average loudness over time. Neither removes clipping that already occurred, repairs a noisy microphone or guarantees intelligible speech.
Filmora's current Auto Normalization guide frames the feature around LUFS/LKFS targets and platform presets. Its separate Audio Gain guide documents fixed gain, maximum-peak normalization and batch processing. Treat them as two tools:
- Use a loudness target when adjacent clips should feel similarly loud. - Use peak control when the immediate risk is headroom or an isolated high point. - Use manual mixing, compression, noise repair or re-recording when level matching does not solve the actual defect.
If you cannot name the problem, do not buy a plan just because the interface offers several normalization buttons.
Resolve the documentation-version conflict first
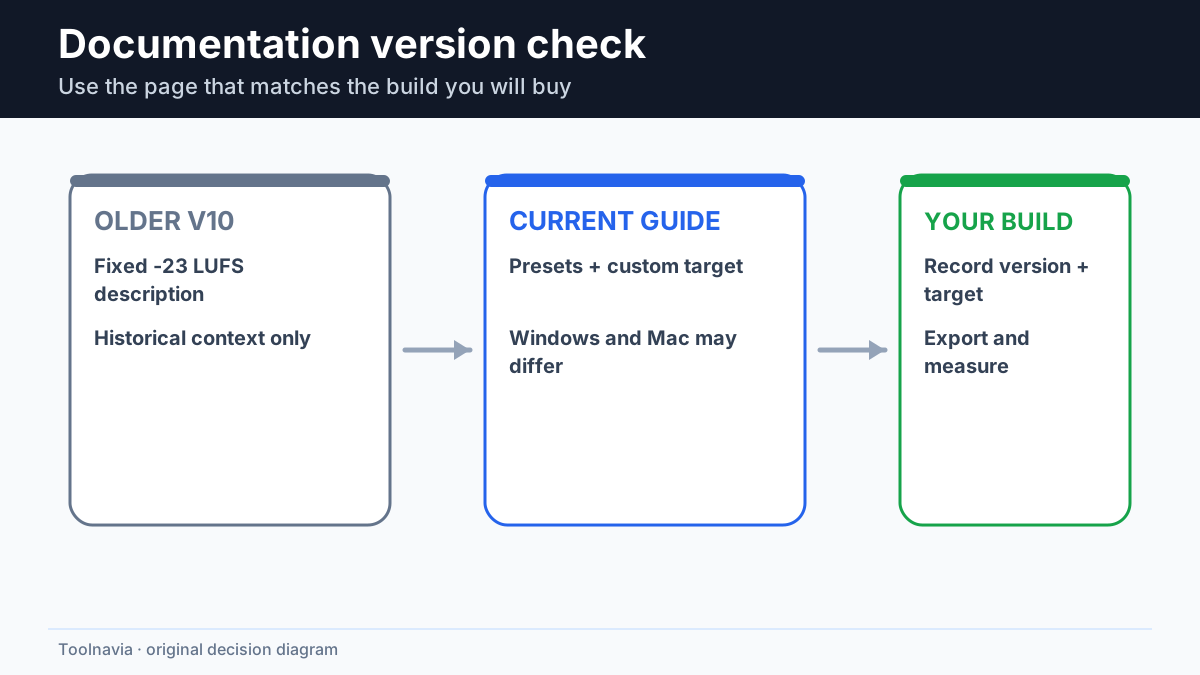
Wondershare's older Filmora v10 guide says Auto Normalization adjusts selected clips toward the European programme standard of -23.0 LUFS with a ±1 LU range. The current Windows guide instead describes presets plus a custom target, commonly from -23 to -10 LUFS. The current Mac guide lists example presets at -23, -16 and -14 LUFS.
These pages are not interchangeable proof of what every Filmora version, operating system and export preset will do. Use the current guide for your installed release, record the exact version and target shown in your interface, and treat the v10 page as historical context. A target label also does not prove the final encoded file meets a broadcaster, podcast host or streaming platform's complete delivery rules.
That distinction is the main reason to test an exported file rather than accepting a timeline control as evidence.
Run one mixed-source acceptance test
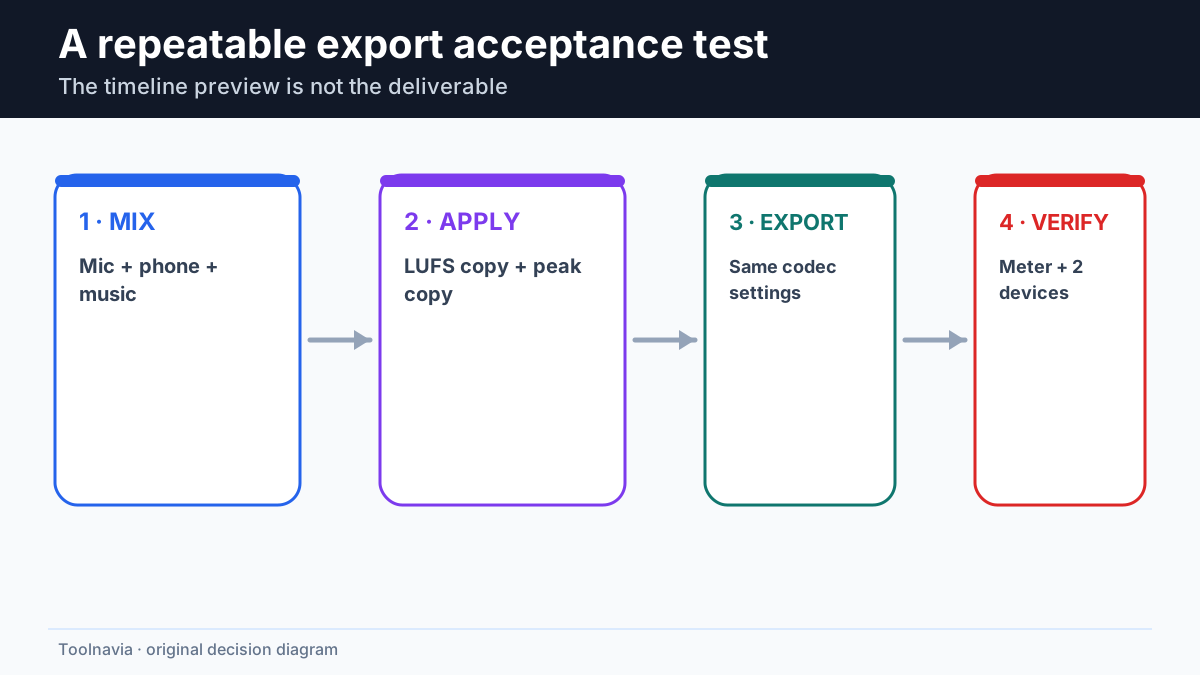
Create a short project with three real clips: speech from your usual microphone, a phone or meeting recording, and music or ambience you are licensed to use. Keep an untouched duplicate of the timeline.
1. Measure or at least note the starting level of each clip. 2. Apply Filmora Auto Normalization to one copy using the actual preset or custom target you intend to publish with. 3. On another copy, use Audio Gain or maximum-peak normalization without changing the loudness target. 4. Export both versions with the same codec and sample settings. 5. Open the files in an independent loudness meter or editor. Record integrated loudness, maximum peak or true peak, and any clipping indication. 6. Listen on headphones and a small speaker. Check quiet words, loud consonants, music transitions and the gap between adjacent clips. 7. Re-import the chosen export and confirm that no unexpected level change was introduced during encoding.
Pass only when the exported result is consistent, understandable and repeatable. A good-looking meter reading is not enough if speech remains fatiguing or buried. Likewise, a pleasant preview is not enough if the external file misses the required target.
Compare Filmora with a separate loudness workflow
Premiere's Essential Sound Auto-Match displays measured LUFS and aligns clips, while its Loudness Meter offers delivery presets. Audacity has a dedicated Loudness Normalization effect based on LUFS or RMS and warns that targets vary by application. Final Cut Pro separates loudness amount and uniformity from other audio enhancements. DaVinci Resolve documents delivery-page normalization or optimization against loudness and peak limits.
These alternatives do not prove better results. They show the questions a serious test should answer:
- Can you see the measured loudness before and after adjustment? - Can you distinguish integrated loudness from peak protection? - Can you set the destination target rather than assume one universal number? - Can you verify the final export without leaving an undocumented step? - Can you preserve a repeatable preset for the next episode or client job?
Filmora is attractive when those answers are adequate and the same project also needs picture editing, captions, titles and ordinary exports. A dedicated meter or audio editor remains useful when delivery compliance, true-peak control, multi-track mixing or audit records are contractual requirements.
Keep a target sheet instead of trusting a platform name
Write down four fields before the test: destination, requested integrated loudness, maximum true peak, and whether the requirement applies to the whole programme or each clip. If the destination publishes no firm specification, label the target as your editorial choice rather than a compliance rule.
Then record the Filmora version, operating system, normalization mode, target, export codec, sample rate and external meter used. Save one screenshot of the Filmora setting and one of the measured export. This small record separates a repeatable workflow from a one-off impression.
Be especially careful with short clips, long silences and mixed mono/stereo sources. Integrated loudness can change when silence or a different programme duration is included. Treating mono as dual mono can also change a reading in some meters; Audacity documents this explicitly. A peak-safe file can still be too quiet, and a loudness-matched file can still exceed a peak ceiling. Test the complete delivery file, not only the loudest sentence.
If the result misses the target, change one variable at a time. Do not stack loudness normalization, peak normalization, compression and limiter settings without recording the order. An undocumented chain may pass once and fail on the next episode.
Do not overpay for the normalization button
The current US page shows Basic at $49.99 per year, Advanced at $59.99 per year and a Perpetual option at $79.99, with the annual plans renewing automatically. The Perpetual plan covers updates within Filmora 16 rather than future major-version upgrades. Final tax, currency, promotion, operating system and optional Creative Assets trial can change checkout.
The public pricing table does not clearly make Auto Normalization an Advanced-only benefit. Therefore, do not upgrade to Advanced merely because this audio task sounds technical. First confirm the feature in the exact build and plan offered at checkout. Advanced becomes relevant only if its separately listed AI credits, cloud storage or other benefits solve a documented requirement.
The free edition can help you inspect the workflow, but official pricing says its exports carry a watermark. Use it to test controls and performance, then decide whether a clean paid export and the wider editor replace tools you already pay for.
Use a buy, wait or switch decision
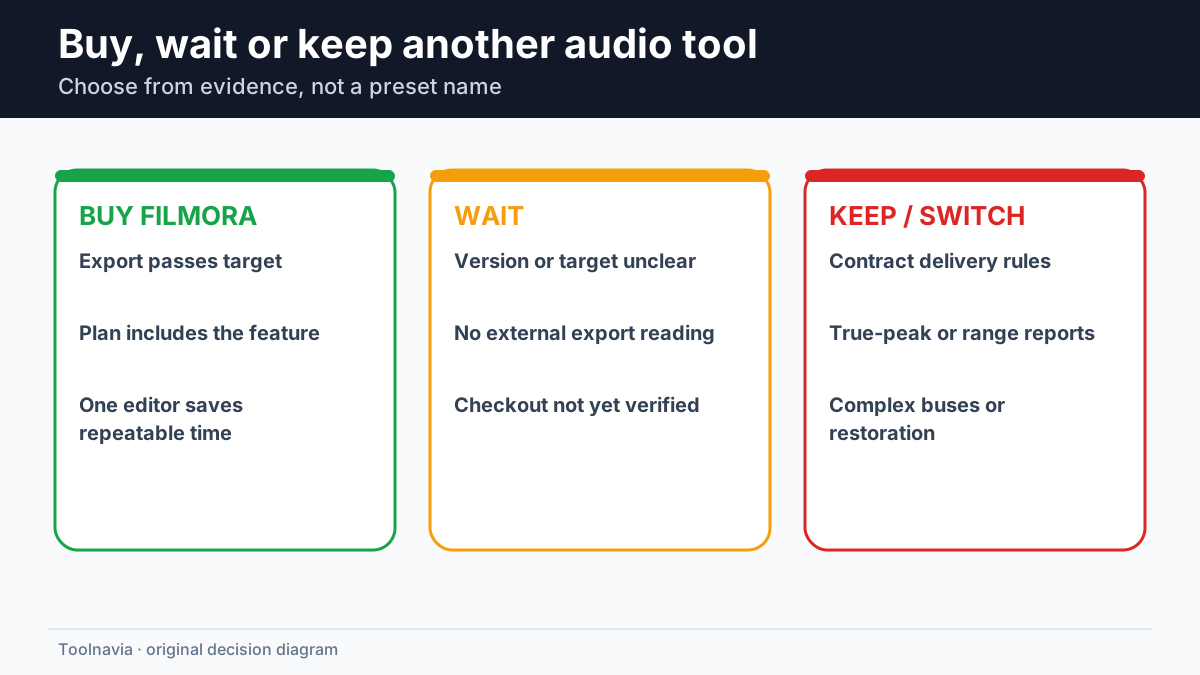
**Buy Filmora** when your real project passes the export test, the current plan includes the feature, the result meets your own published target, and keeping audio and video work in one editor saves repeatable time.
**Wait** when the interface or guide does not match the version you will purchase, the platform target is unclear, or you have not measured the exported file. Save screenshots of the selected target and the external meter result before committing to a recurring plan.
**Switch or keep a separate audio tool** when you need contractual broadcast delivery, detailed true-peak and loudness-range reporting, complex buses, restoration, or a reproducible report that Filmora alone cannot provide.
The key buying boundary is simple: Auto Normalization can accelerate level matching, but the final export—not the button, preset name or marketing sentence—is the evidence.