TOOLNAVIA / BUYING GUIDE
How to Migrate WordPress to Cloudways Without Breaking Your Live Site
The short answer
The safest way to migrate WordPress to Cloudways is to keep the old host live, build a separate Cloudways copy, validate that copy, and change DNS only after the important user journeys pass. Cloudways currently offers a free self-service Migrator plugin for WordPress/WooCommerce and also says managed WordPress/WooCommerce migrations are free under its current dedicated migration policy.
Affiliate disclosure: Toolnavia may earn a commission if you later buy Cloudways through links on this guide. Migration success is not guaranteed by the affiliate relationship.
At a glance
- Best for
- WordPress/WooCommerce owners who want a parallel-copy migration with rollback rather than an immediate cutover.
- Price model
- WordPress/WooCommerce migration currently free; paid hosting separate
- Check first
- Migration does not automatically synchronize new writes or guarantee plugin/email compatibility after DNS.
Before copying anything, create a rollback point
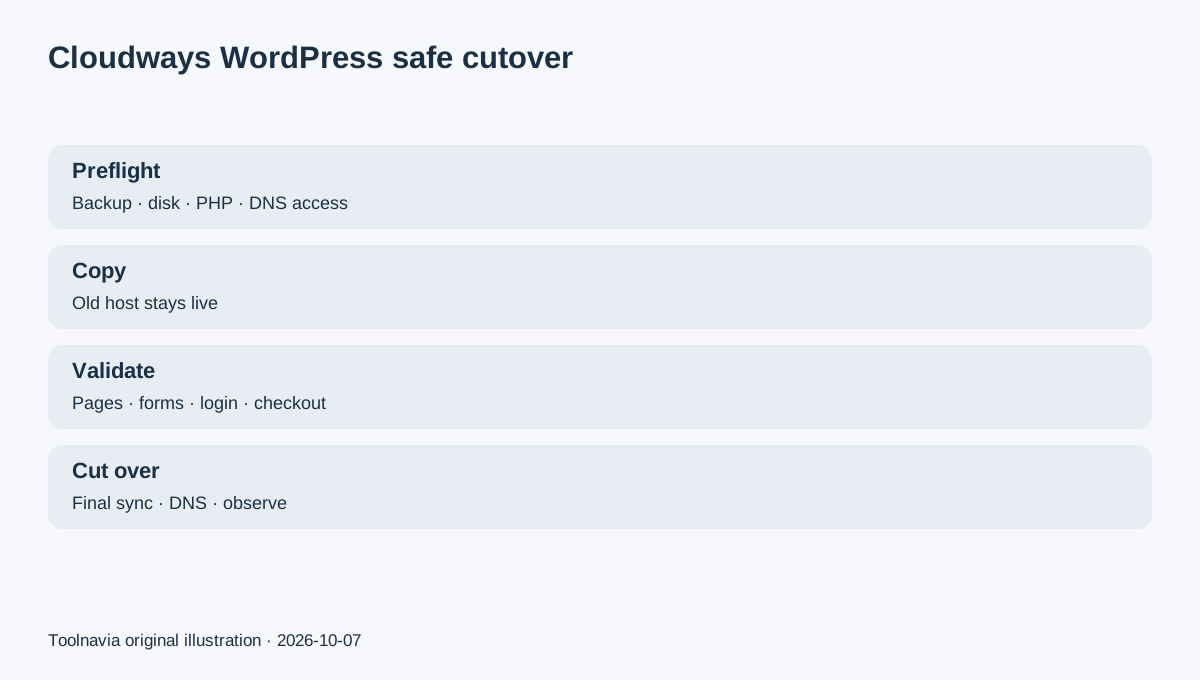
Take an independent backup of the current site files and database and confirm that you can access DNS for the domain. Record the current PHP version, important plugins, theme, cron tasks and any unusual redirects or login rules.
Cloudways' current end-to-end migration guide also tells buyers to compare source and destination PHP versions and verify that the destination has enough disk space for the application data.
For a revenue site, record the latest order, form submission or membership change before the final cutover. That gives you a concrete point to compare if writes occur while the old host is still live.
Use self-service when the site is conventional
The current Cloudways WordPress Migrator guide says the plugin supports WordPress and WooCommerce and that self-service migrations are free. You create the destination application, install the Migrator on the source site, enter the destination connection details and let the tool copy the site.
This is a sensible first route for a conventional single WordPress site because the old production site stays online while the copy is built. After transfer, open the temporary Cloudways URL and compare pages, plugins, themes, media and admin access.
Do not cancel the source host when the plugin reports completion. “Copied” is not the same as “accepted for production.”
Use managed migration when edge cases matter more than control
Cloudways' dedicated managed-migration guide currently says managed WordPress and WooCommerce migrations are free. Non-WordPress application migrations are $99 unless included by the selected plan. Managed migration is not available during trial, so the account must be upgraded first.
The newer end-to-end workflow accepts SSH, SFTP, FTP, cPanel or a downloadable backup as source access. It also lets you give the migration engineer explicit checks such as add-to-cart, checkout, login or registration.
That route is more attractive when the source environment is unusual, the site is large, or you want Cloudways to own more of the transfer procedure.
Validate the new copy before DNS
Cloudways recommends reviewing the migrated site before updating DNS. Check layout, images, menus, key pages, contact forms, login, search and any transactional flow. For WooCommerce, test add-to-cart and checkout before sending real visitors to the new server.
The current onboarding guide also tells WordPress users to verify the migrated copy and clear caches where needed before the final switch.
If a feature fails on the temporary URL, fix it there. DNS is the traffic switch, not the debugging tool.
Protect writes during the cutover
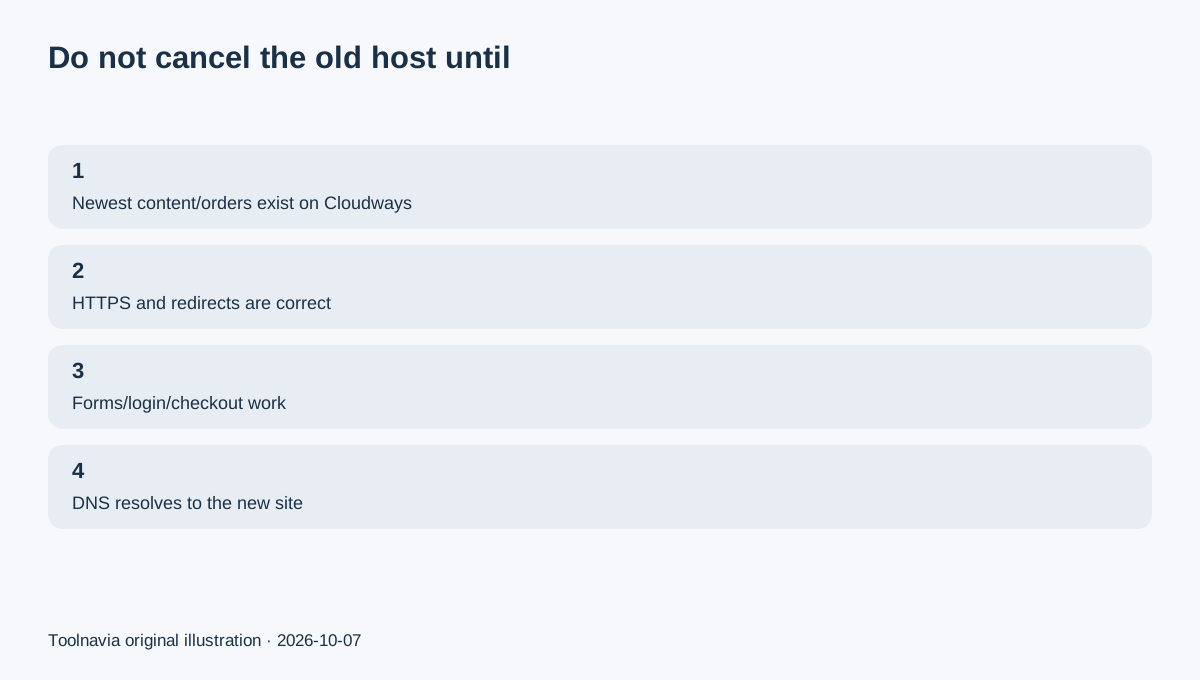
The biggest practical risk is data divergence: while the new copy is being tested, the old production site can still receive new orders, comments, uploads or profile changes. Cloudways' onboarding documentation explicitly warns that changes made on the old site during this period do not automatically appear on the migrated copy.
For a mostly static site, a short final-sync window may be enough. For WooCommerce, membership or community sites, schedule a controlled cutover: reduce new writes if possible, perform the final synchronization, retest the latest records, then change DNS.
Keep the old hosting account active until DNS propagation is complete and the newest data is confirmed on Cloudways.
Recheck SSL, email and redirects after the switch
After DNS points to Cloudways, confirm HTTPS, canonical URLs, redirects, forms and transactional email. A migration can look visually correct while email or mixed-content behavior is still wrong.
Cloudways' post-migration checklist emphasizes DNS, SSL and email checks after the move. If email previously lived with the old hosting provider, verify MX, SPF and DKIM before shutting that service down.
For SEO-sensitive sites, sample important URLs, status codes and canonical tags so migration does not silently turn valuable pages into 404s or bad redirects.
Cancel the old host only after a real acceptance period
A robust migration has three checkpoints: the copied site works before DNS, the latest data exists after the final sync, and the public domain works correctly after propagation.
Keep the old host and an independent backup until those checks pass. Then save one final archive and the Cloudways access/recovery notes before canceling the old service.
The best migration is not the one that finishes fastest. It is the one that leaves you with a verified new production site and a credible rollback path.